Showing posts with label paper. Show all posts

Wednesday, 25 April 2012

Final Project - new directions

Inspired by my last tutorial with met, I spent much of today playing around with shreds of paper, trying out some of the ideas which emerged on monday.

I tried various ways of stitching paper strips onto long threads - using both white cotton thread, and invisible nylon, and trying this out on some printed paper strips, and some strips torn from my hand-made paper.  Neither is easy to do.

Nylon thread is incredibly difficult to handle, and hard on the eye-sight too.   Here I have used nylon thread on hand-made paper.


This is cotton thread on hand-made paper but I was left with a double threads from the machine stitching.


The white cotton shows up more, but is considerably easier to work with.

This is cotton thread on a printed paper strip, but I cut the bobbin thread between each strip, so that there is only one thread visible.  This works better and if I continue with threading, I will use this method - it looks site good and is easier to handle than the invisible nylon.

 I don't have anywhere at home to hang long threads from, so I only made about half a dozen pieces at this stage.  I liked the way the shreds of paper twirled around once they are hanging, and a fair number of these, grouped together, would make  quite a strong visual impact.  but it might drive me insane making them.

I also tried throwing shredded paper onto a large sheet of black paper, and then drawing lines where the paper fell.


 I used various media - different pale-coloured pencils and then a gold pen.  I rather liked the mysterious quality of the lines themselves, and also the way, on black paper, the patterns of lines doesn't stand out, but is interesting when you get close.


I then covered a sheet of black paper with a thin layer of pva glue, and dropped the cut strips of text on to that - so I have a sort of collage of the trips...which worked quite well although the glue shows up rather too much.

.. and here in close-up.  I like the loose texture, the strips are not glued completely or firmly to the backing, but tumble over each other, preserving the sense of free-fall they had when they were scattered.


I tried a similar approach, this time dropping the small strips of printed paper on to a white paper base, and then drew the resulting marks with a black marker pen.  i liked the strength of the lines I got from this.


Next I abandoned using the actual paper strips, but instead I used slightly diluted black acrylic paint, and a strip of card dipped into the paint and used as a small printing device, to create a pattern of higgledy-piggledy overlapping short lines, but with a concentrations in the middle, to represent the heap of paper shreds.  I like the overall effect of this approach, and because the acrylic paint was quite thickly applied, there is a 3D texture to the finished image.

This is the image half completed,  with a relatively thin scattering of lines...


...and the same in close-up...


and even closer...


This is the finished version, with much denser drawing of lines...


In close-up you can see the rich texture of the paint...


and even richer here...


And then I repeated this approach using Indian ink and smaller strips of cardboard.  This also worked well.


I am pleased with these results - partly because I just liked the results, but mainly because this has taken me into a new dimension with the project itself.  It is still rooted in the torn or shredded strips of my 'old life' papers, but translates these into a different context - of drawing, and printing, and creating an image which is embedded in the concept but is separate from it and which has a visual identity, and an abstraction,  all of its own.

I did all three 'drop' drawings on a single long sheet of paper (wallpaper lining paper, strong, cheap and infinitely accessible) draped along my big kitchen table.  I rather liked the way the three related but different images work together.  This image doesn't do them justice, because they were still lying horizontally.  But hung vertically, I think they would look very good.  I might want to use this as a back-drop for my final show piece....


The marks I have been making today seem to me to be related to the mark-making I did in my second Pathway Project too - although that was 'non-writing' there was a similarly abstract quality about them, a rhythm which I seem to have got again today, and also the use of monochrome black and white, which I think emphasises the strength and interest of the liens themselves.

I think this is worth pursuing further, and tomorrow I will explore how else I could capture this idea in stitch and in other types of simple print.


Friday, 13 April 2012

Paper works, Peter Ford

I went tonight to the opening of the 75@75 exhibition of Peter Ford's paper works at the Off Centre Gallery  in Bristol.  This was both retrospective and a show of recent work, including some lovely watercolours, both abstracts and landscapes,  with strong and vibrant colours, and abstracted shapes and forms.  Also very interesting etchings and collagraph prints, some into his hand-made paper, others on thick papers which enable him to create physical depth, indentations, and texture as well as colour and form.  He has a large number of book plates on display, commissioned by private individuals as well as public institutions including a number of Chinese libraries.  An inspiring collection.  I was also interested to see information, at the show, about the International Association of Hand Paper-makers and Paper Artists, (IAPMA) (IAPMA web-link is here) with information about exhibitions and paper artists of all kinds. A really useful resource.

Wednesday, 28 March 2012

More paper works

Magie Hollingsworth (website here, from which the images below are taken) is an English artist who uses recycled waste paper pulp to create objects and vessels which have many of the characteristics of ceramics, but also display a fragility and roughness which I find very attractive.  Her work is often of domestic scale and represents familiar domestic tools and other items, but this adds to the interest of things made from waste but which are, in their 'real' forms, essential for everyday lives.  I found Magie via the Galanthus Gallery, near Hereford, on the link here.


Tuesday, 27 March 2012

More ways to use paper

Browsing galleries and websites has brought me to several more highly original and interesting artists, including a number from Japan.  Japanese artist Kiyomi Iwata,  whose website is here, who lives and works in the US, creates sculptural forms from silk and metal, but the effect is semi-translucent and has the whisky, papery quality which I am searching fro in designing my final project piece based around deconstructing and re-generation from paper.   Her work is quite varied, and includes the use of strong colours.  Images from her website, link above.


Kibiso Three: 2009, 13x9x13" Raw silk is dyed, woven and stiffened.


Red Stitched Box: 1988, 4x4x4 in. Silk organza dyed & fabricated


Revolving Two: 2006, 48x8x6 in. Silk organza fabricated, stiffened and dyed.


Red Torso Three: 2005, 20x22x15 in. Silk organza dyed and fabricated


Red Torso Three: 2005, 20x22x15 Red Torso Three: 2005, 20x22x15 in. Silk organza dyed and fabricated. Silk organza dyed and fabricated

paper works


Beautiful work in paper by German artist Helene Tschacher (her website is here, from which all the following images are copied).  She has done amazingly interesting things with cut and folded paper.  I particularly like the way this work uses old paper but leaves slices and glimmers of the old text visible, and sometimes uses the dark colour of the printing to add depth to her assemblages.


This kind of work is inspirational for my own final project, where I want to re-use and re-form essentially ordinary printed A4 paper, symbolising my journey into creativity, and away from my old professional life of government reports, academic articles and essays.    I am still floundering around thinking of ways to express this - either by tearing my paper up and scattering it to the four winds somehow, or of pulping it to make 3D objects (or more paper??), or alternately to use it unchanged, but to create something interesting and hopefully tactile from the swathes of text I used to deal with every day.

Monday, 19 March 2012

Using my paper: printing

Having made quite a large number of sheets of paper, of varying thickness but overall fairly consistent quality, I now need to think about what to do with them.  I have made an attempt at printing.


I first of all made three very simple dry-point plates using the plastic "glass" from some cheap IKEA frames.  I inked here up and printed them on the etching press at college.  Normally you soak the paper for this process.  I tried putting a sheet into the soaking tank - and of course, it instantly started to fall apart:  hand-made paper is not strong enough for this kind of treatment!


So I pressed on using paper I had dampened slightly by wiping it with a damp cloth just before printing.  However, a second problem was that the roles on the press had been adjusted wrongly so that the pressure was uneven, and the prints came out a bit lop-sided.  I quite liked the results, even so - they are rather faint, rather grainy, but work well on some of the first batch of paper, which has quite a lot of tiny bits of text showing randomly here and there.  


I subsequently had another go, once the press had been adjusted correctly, and these were also rather nice.  The images are just very simple scratched scribbles - but they are not unlike some of the 'not-writing' drawings I produced for my Pathway Project.  


I also made some plates using the "poor man's etching" method, i.e. by cutting into the surface of card which I had painted with shellac to give it surface and strength.  I made three small designs, each one based on the idea of tearing something into strips - which is of course what I've been doing with my re-cycled paper.  


These printed pretty well, without me having to dampen the paper much, or at all in some cases.  I think there was quite a lot of ink on the plates - the rough cut surface of the card absorbs quite heavily so there was a good lot to transfer onto the dry paper.  


This time I printed some onto the paper made of clean white copier sheets and - not surprisingly - the results are clear but rather dull.  The prints onto the greyer, grainy, paper with occasional glimpses of the old text, are much better.  

Thursday, 15 March 2012

Making Paper Mache

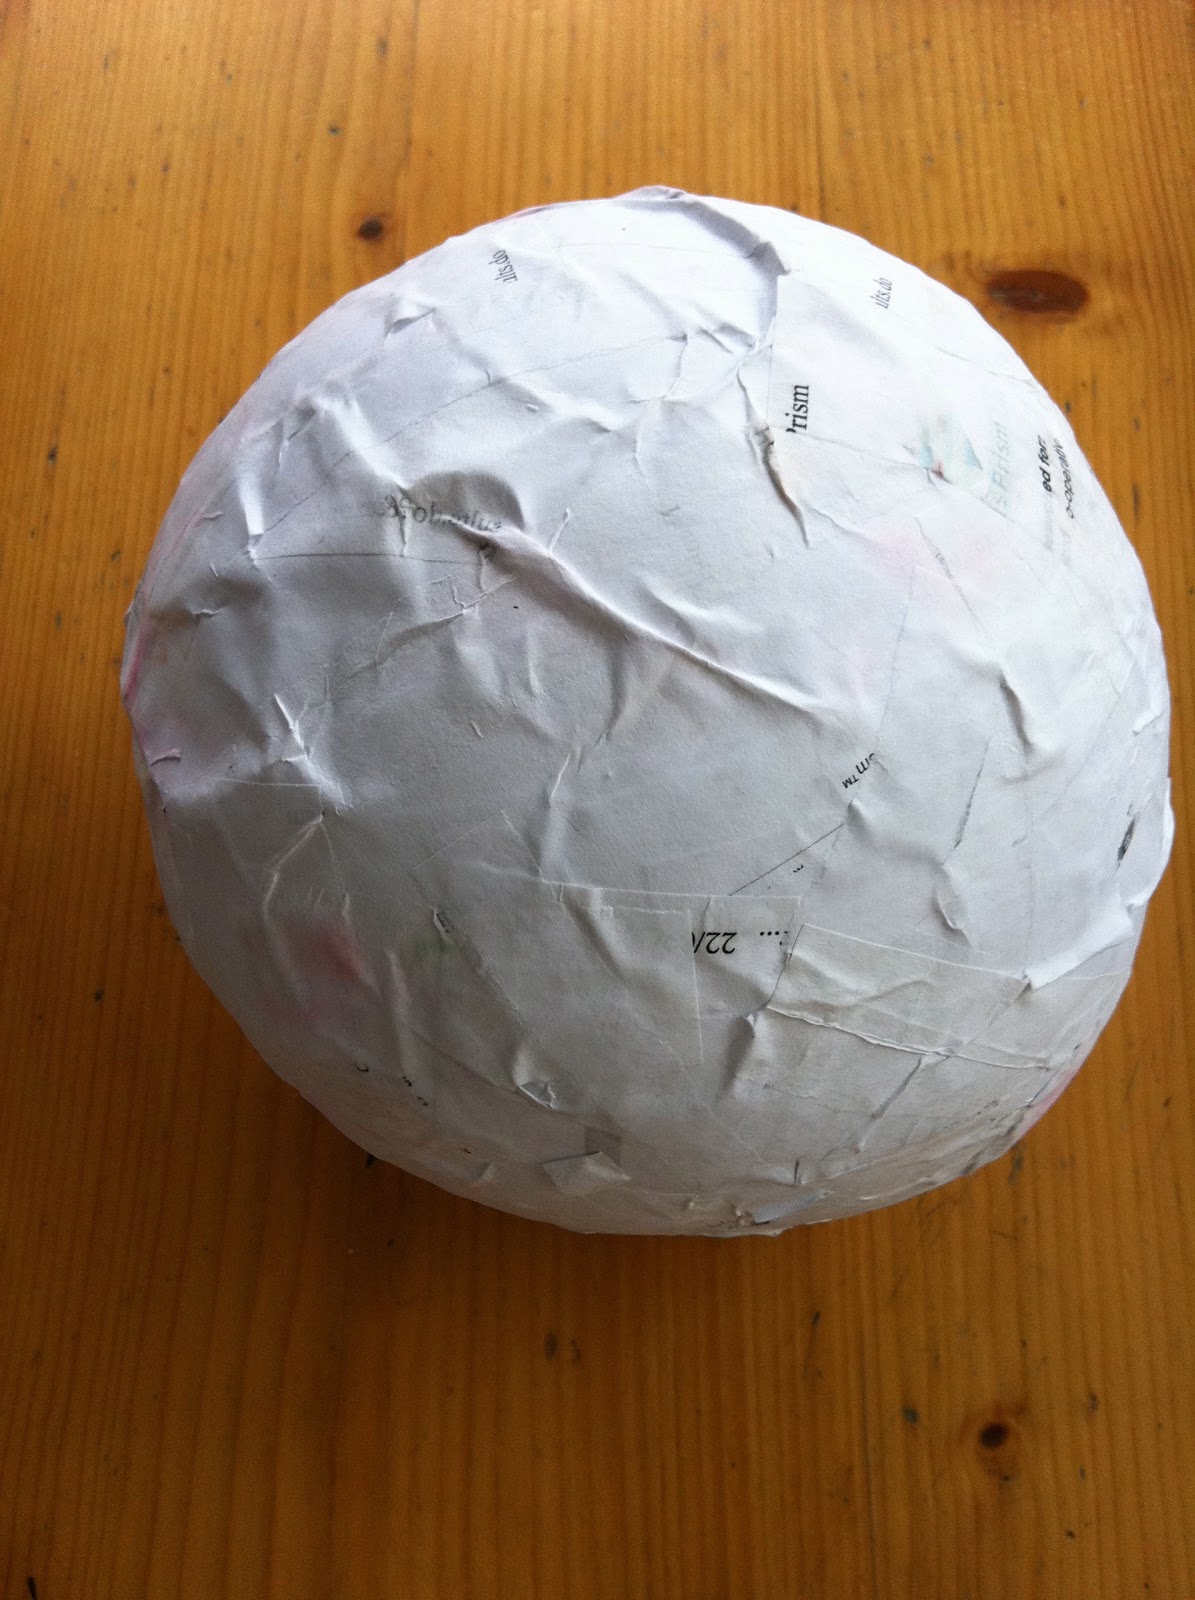
As well as making my own paper from my old history essays and work papers, I have had a go at papier mache.  This has not been so easy, using old printer and photocopy white paper, as my long-ago efforts using newspapers.  I think this is mainly because the white A4 copier paper is fairly strong and rigid, and so even when it has been torn into strips or small pieces and soaked in paste, it is still relatively firm and rigid, and it doesn't want to blend easily.  I used commercial wall paper paste, quite diluted, as the paste medium, and used inflated balloons as the mold or form (and in one case, an upturned kitchen bowl with a shape a bit like a tall "Puritan" hat..  I have ended up with several small bowls, with rather strangely crinkled surfaces, as yet unpainted and unfinished.  I am not at all sure where this might lead.  


However, I have also been thinking about attempting something which is a cross between making paper and making papier mache - i.e. using damp pulp to form shapes which will be 3D but relatively flat, and which use pulp as a sculpting medium, rather thn as a semi-liquid pouring medium.