Tuesday, 20 November 2012

Letters and books


Over the past few weeks I have been experimenting with making small artists books,  building on some work I began last year during my Foundation course.  I've been lazy about recording things recently, so what follows is an attempt to catch up with the autumn's work.  First up, alphabet books.  

While pootling around looking at blogs a while ago I came across the web-site for a wonderful international blog called A Letter a Week and decided I would have a go at making some alphabets of my own.  The first one I attempted was entirely made up of letters cut from newspapers, both lower and upper case.  I mounted these on 3" square sheets of cartridge paper, and then mounted these, in turn, onto larger squares of black paper, folded and creased .  I glued each folded letter sheet to the next, creating a 26-section folded book.  It does not photograph very well, and is easiest to see when you can pick it up and flip through the sections.  Not very special, but a good way to get my book-making juices running again after a gap of almost a year. 


My second alphabet consists of 26 3" square sheets on which I have created images of the 26 capital letters, drawn in sepia or black dots.  These are held in a coptic-bound book, each signature being a single origami-folded envelope, just big enough to hold one of the dotty letters.  I rather like this one, my Book of Letters, because of the pun on "letters" and "envelopes".  It is a better size and scale than the first book, and is nice to handle.  You have to pull out the individual letters to see them properly, but there are hints of each one showing through the open top triangle of each envelope.


Thirdly, I decided to mount the letterpress alphabet book which I had printed during a Letterpress course at UWE in July 2011.  This was a mammoth typesetting and measuring exercise, done on the last afternoon of the course, and almost abandoned because of lack of time. Thanks to Angie Butler, we got the type set up and printed, but apart from cutting the finished printed sheets into strips, I had not, until now, worked them into book format.

The result, now, is a very simple folded accordian book of all 26 letter prints (each one using an upper and lower case example of each letter).  I had intended, when i made the original print, to do 26 accompanying small drawings (or possibly rubber-stamp prints) of simple images to illustrate each of the letters, but so far this is still just an idea).


Monday, 5 November 2012

In the beginning....


A recent review of some of my first attempts at making books, reminded me of some of my work which I had almost forgotten, and some of it I was quite pleased with, such as these nesting, folding boxes, made as a response to the project to make pocket sculptures, for a Conceptual Art workshop session on my Foundation course at Bristol School of Art.  At the time, I was in the throes of moving house and retrieving my possessions from 4 months in storage - it seemed like boxes, and their appearance and disappearance, was filling my world....


These are some books I made as part of the project we did on the zoo at the end of the first year of the foundation course.   I used old copies of the RWA ART magazine as a base, and then inserted photos of all the myriad warning and prohibition signs scattered around the zoo.  I liked the idea of using wooden sticks (stakes?) as the binding - reflecting on the cages and fences which keep the animals enclosed and the people out.


This book was one of a series based on the high-level rope walk-ways constructed for the gorillas in their enclosure.  The two days I visited the zoo, the big gorilla was just sitting morosely at the top of one of the tree-ladders, looking down at the world.  The walkways was unused.  The gorillas must be terminally bored with it all.  I made a print suing a card and indian ink, and printed a never-ending walkway on large sheets of paper which I had folded to make into a folded/concertina book.   I folded it round so the end met the beginning, so it was literally never ending.


I made several smaller versions based on a book design made from a single, folded and cut sheet of paper, scaling the print accordingly.


My portfolio was also an opportunity to record some of the things I've one outside of the Foundation course.  Last summer I did a letterpress Printing course at UWE with Tom Snowden and Angie Butler.   I continued experimenting with books made from a cut and folded single sheet.  This meant I had to work out how to lay out the type so it would all work and be properly located/centred on the pages.  I made three separate prints and bound them into tiny books, using covers made from a print workshop done a couple of years ago.


I also did a week learning Bookbinding at UWE with Guy Begbie: a few of the examples I made.


Friday, 12 October 2012

What I did on my summer holiday....

I've sorely neglected this blog over the summer months, but now the nights are drawing in and there's an autumn chill in the air, term is about to start on my new course, and it is time to recap on what I've been up to these past few months.  Also time to get back into the habit of using this blog to record my faltering progress (mainly for myself but readers are of course very welcome) and to track and save thoughts, images and reflections on my work, which is mainly in print-making but also in quilt-making.  And sometimes inevitably there will be stray thoughts about life in the not-so-slow-lane.

Last time I posted, back in July, I was trying to adjust to the prospect of a long summer without any particular commitments, and also trying to find a way to deal with the 'come down' feeling once the Art  Foundation course was completed.  I spend a couple of days exploring simple collagraph and relief prints, done without a press, and using very basic inks and papers from the local children's art supplies depot. 


I was happy to have flexed my print-making muscles a little, but found I was frustrated by poor quality materials.  I've decided to wait a little, see what kinds of inks we'll be using at UWE, and then decide whether and what to buy for use at home.  

Doing this little taster printing session helped me re-dsicover my creative energy, and I spent another few days delving into the gloomy world of papier mache, making a series of small bowls and boxes - none of which had so far been properly finished.  Another task for an empty autumnal afternoon or two.  (and I seem not to have any photos - so will put this right later...)

I have tried to make myself draw regularly, but have found it hard to fit in the time, and my natural reluctance to mess up has kind of immobilised my drawing hand much of the time.  However, i did spend a lovely weekend on an experimental drawing workshop at the Bristol Drawing School in early August, where we played with charcoal and graphite, drawing ink and gouache, and I made some marks and sketches which pleased me.  Here are a few images of the results of the mark-making workshop ...


It was good to loosen up a little, although I have not been good at keeping up the practice at home.  It was the summer holidays, after all, and there are other things I've been doing which have filled a lot of my time....

My old stand-by in times of creative doldrums has been to make a quilt - and this has been a welcome distraction recently.  I have been "commissioned" to make a quilt for a new baby due soon to a friend of one of my daughters, and decided to use some of the hand-dyed cloth which I made last summer.  The first piece, made of very simple 3" square blocks like a simple Court House Steps block, has become a small baby-sized quilt, using a piece of IKEA fleece blanket as wadding (endlessly washable). 


The second piece, made of 3" finished size nine-patch blocks, I turned into a tote bag for days out and carrying books and files.   


This rush of activity was enriched by a trip to the Festival of Quilts in Birmingham in mid August, with my older daughter Charlie, who is a whizz at quilt-making (as well as many other things) and we had a happy day browsing both quilts and stalls, and managed not to spend the entire contents of our respective piggy banks, only some of them.

It also inspired me to explore a much-loved but now very worn patchwork bag which Charlie had bought on a trip to France about ten years ago.  I unpicked it to find the pattern, and then made a new one using some blue charm-pack squares which had been lurking for a while.  I used quite a heavy polyester wading, to give it strength - but it means that for a while, until it has been weathered a little, it is rather too round.  But I liked the design and might make more to this pattern in due course.


Once back home, I decided to investigate machine quilting for the baby quilt, and picked up on Leah Days Free Machine Quilting Project blog, which has been a fantastic resource and source of inspiration.  Her tutorials are clear and unfussy, and I have been especially helped by her tips on adjusting tension, needle, foot etc on my sewing machine.  I spent a day or two playing with her advice, and produced a series of small test pieces to ensure I had the hang of manoeuvring the quilt and keeping stitches and tension in balance.  It was so much easier to follow her method (where you don't drop the feed dogs but instead turn the stitch length to zero).  Encouraged by these changes, I decided to machine quilt the baby qyukt.  But I think I rather over-did it - so the finished quilt is a little stiff, and a little less cosy and catchy than I had intended.

So I may still make another, simpler and perhaps more traditional little quilt for the baby - which is not due until late October so I have a bit of time left.

This quilting was fun, and I enjoyed relaxing into my old comfort-zone at the sewing machine.  My younger daughter Lizzie moved into an unfurnished rented house, shared with an old school friend, at the beginning of September.  It feels like her first real grown-up home - no more rooms in shared student houses, but somewhere she plans to stay for a couple of years, and can make homely with her own furniture etc.  Among the various bits of household stuff she inherited from parents, were a couple of old and timeworn quilts.  But I decided it was a good moment to make her a new quilt - and so, using the same very simple square block pattern I'd used for the baby quilt, I pieced a new 56" square rainbow quilt for her.  This is it,  in process of assembly: thank heavens for lots of space on bare wooden floors to lay it out and play with arranging the blocks.


Of course, it needed quilting.  And in the light of my over-doing the baby quilt, I decided this rainbow quilt would look best with hand stitching.  And so I have spent 5 or 6 evenings half-watching rubbish tv, and half struggling with the quilt on my knee and rather big quilting stitches in matching rainbow threads.  Oh dear: this is taking longer than I anticipated.  I may be working on this quitl for another week or two yet.  A Christmas present perhaps, rather than a moving in gift. 

Cutting the patches for all these quilts has left me a with a wonderful box full of tiny scraps and the edge trimmings from rotary cutting.  I have no idea what to do with these, but at present I can't bear to lose them....


And on top of all this, I also decided to finish off some long-standing UFOs, starting with a big pile of 1" hexagon rosettes, made back in 2008 when I was extremely sad about life and its vagaries, and sewed a fairly mindless set of pieces, without any real plan for their eventual use.

Friday, 27 July 2012

A lull, and then print-making

Back after a long absence!  Once my Foundation Course finished, I found myself in rather an odd state of listlessness for a week or two, not quite knowing what to do with myself, and probably also just rather tired.  It felt so odd not to have a project to work at, and deadlines to meet.  But at last I have found my energy levels again, and begun to  focus on print-making, as a precursor to starting the MA course at the end of September.  It seemed like a good idea to give myself a refresher course in simple print-making techniques, using materials to hand at home, and without recourse to any specialist equipment.  In reality, I haven't done a great deal of printing this past year, so it has felt like starting from scratch, working initially with relief prints, i.e. lino and collagraphs which I can print using relief methods.  I've been helped and inspired by several books, including ......


I have a slight problem with lino-cutting - a war-wound from too may years spent hunched over a keyboard has left me with a touch of RSI in my right wrist, and I have trouble if I put too much sustained pressure on my hand.  I've discovered that using proper lino is often too stiff and hard, and gives me a lot of pain,  but I have less trouble with the more flexible, and softer, vinyl mat which I can buy at Scrapstore Kids' Art shop in St Werburghs.  I've been using, so far, basic water-washable block printing inks, cheap and cheerful and designed for school use, also from Scrapstore.   


I began with a really simple design to get used to using the tools again.

Which printed out like this...


 I then tried cutting a relief block from card, using scraps of mount-board (also from Scrapstore) which i sit and then sealed with shellac (knotting fluid) to make them waterproof against the ink. The design was from a very simple drawing of my current favourite shoes.


The print came out like this ...
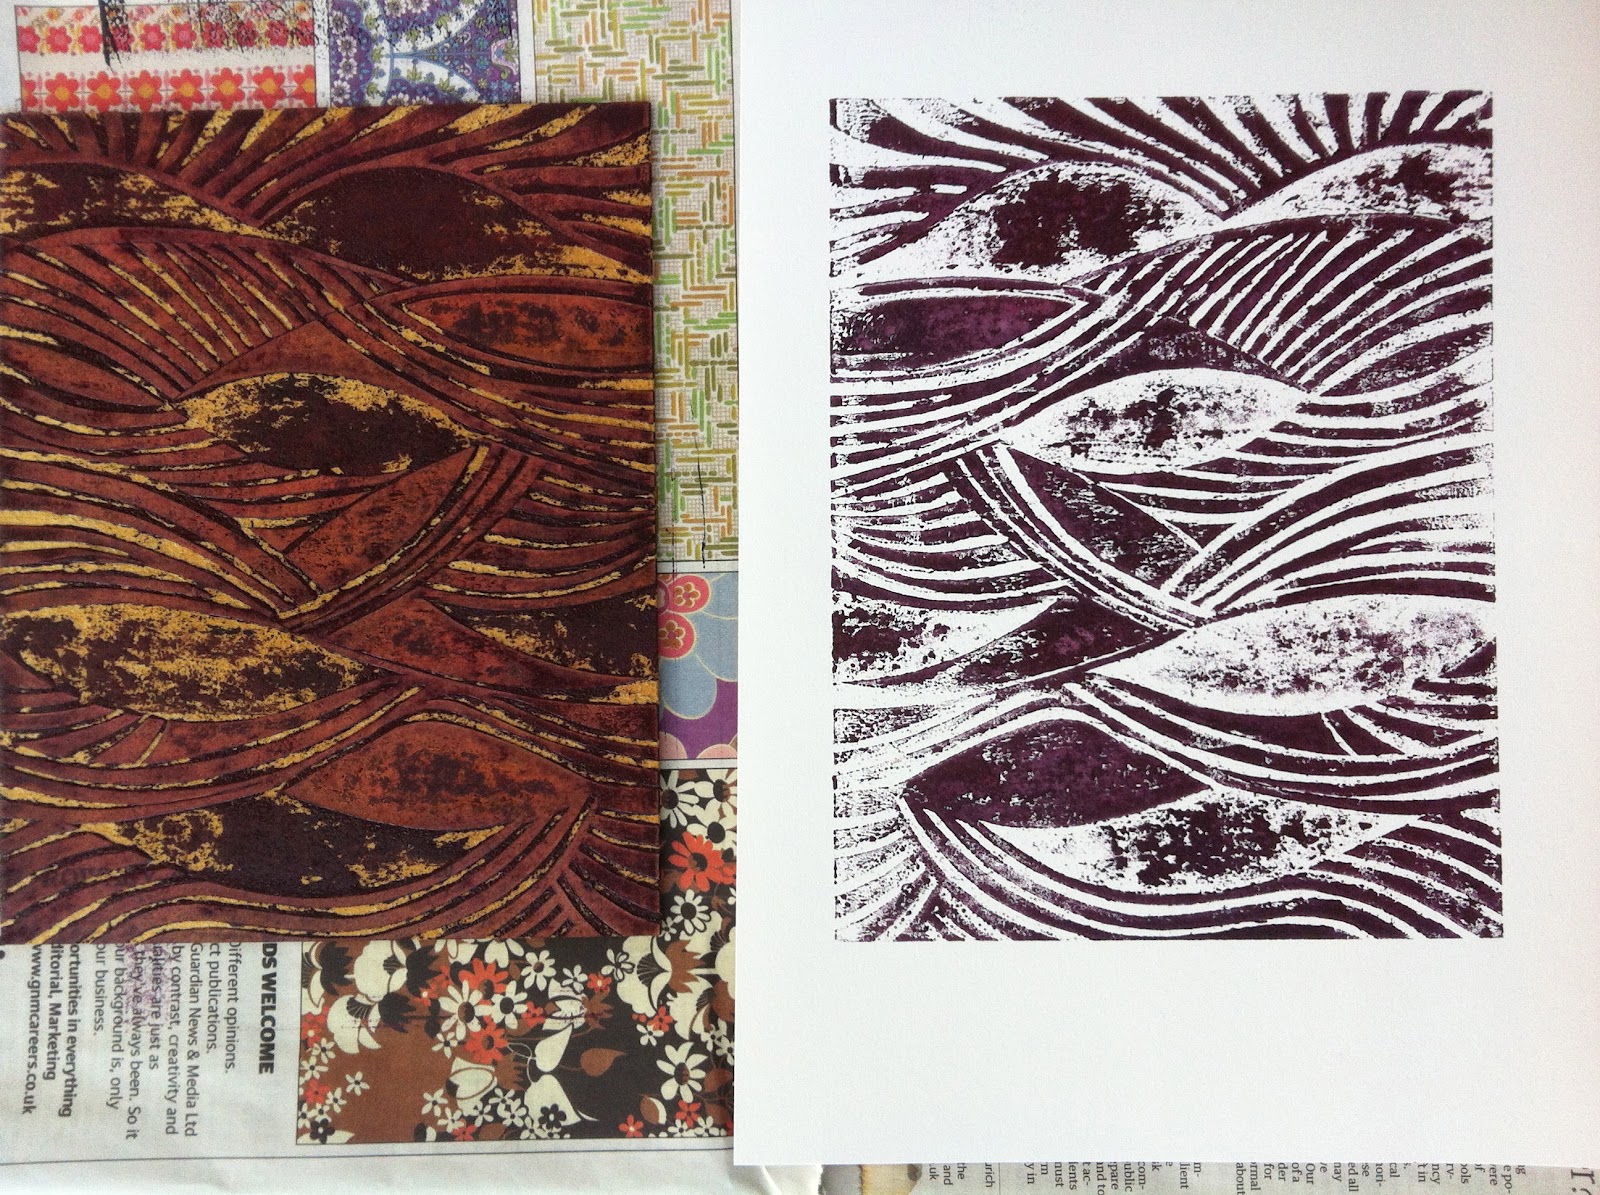
I found that cutting into mount board was a lot less trying on my wrist, and also that it would print reasonably well this way (I have previously used card as the base for collagraphs, but always using an etching press, and had not released they would work in relief mode).  So I went a little crazy, and made a whole set of small card blocks, playing around with textures, with using the peeled-off top layer as a relief on another piece of card, rough side up, and smooth side up.  I tried cutting fine lines, and also removing relatively large sections of the surface.  I wanted to create a kind of sampler of surfaces and techniques, as the basis for more considered designs later on.

All the blocks were sealed with shellac, most with two coats, one or two with more.  Again, I hoped this would help test out the best mix of cutting and sealing, for use as relief blocks.

The heatwave this week has been helpful in making sure shellac dried almost instantly, but ti was less helpful yesterday web I had a mammoth printing session.  The ink was drying much too quickly, both on the ink-slab and on the blocks.  So I added some fluid designed to delay the drying on screen printing screens, and it seemed to help.

Here are some images of my print table in use, and the blocks themselves.


I used a laundry rack from IKEA for drying the prints.  £20 - perfectly serviceable - and brilliant compared with the phenomenal price of "proper" print drying racks from specialist art suppliers, which can cost hundreds of pounds.  It worked perfectly, and folds up neatly when not in use (and could also, of course, be useful for the laundry).


More images soon of the finished prints.


I was fairly pleased with this first effort, although I think the ink was the weakest part, and it will be wroth investing quite quickly in some better quality relief inks.  I have quite a lot of fabric printing ink, so I may also try printing onto textiles with these simple blocks.


Next steps will include making a series of blocks to try two and three colour prating, which will also require proper registration and careful preparation of the design.